Site Survey and Planning
Before starting a fence installation, it is important to carry out a site survey and plan the project carefully. This helps to avoid costly mistakes, prevents disputes with neighbours and ensures the finished fence is both practical and long-lasting. The first step is to measure the full boundary where the fence will be placed. Accurate measurements determine how many posts, panels and fittings will be needed. Even more minor errors can lead to delays or extra costs, so using the right tools and marking the ground clearly is essential.
It is also vital to confirm the exact property boundaries. A fence built in the wrong place can cause problems with neighbours. Checking deeds, land plans, or even discussing boundaries one-on-one will help you avoid any future disagreements. Ground conditions must be considered during the survey. Hard or uneven surfaces may need much more preparation, whereas soft soil usually calls for stronger supports. Spotting these factors a lot earlier allows you to make sure the fence remains stable and secure.
Always check on the local rules and permissions from the council before starting your fencing project. Some areas can cut the height of your fence or its design, and sometimes planning permission may be necessary for compliance. Understanding these regulations and rules will help you avoid legal issues later. Finally, the design and materials must always be chosen to meet the needs of the property. Whether the aim is privacy, security or appearance, planning the style and durability of the fence ensures it fits the garden and lasts for years.
Clearing and Marking the Area
After the site survey and planning, the next step is to prepare the ground. Clearing and marking the area makes installation smoother and ensures the fence is set out correctly along the boundary. Begin by removing any obvious obstacles such as old fencing, posts, plants, rocks or debris. Roots and stumps should also be cleared, as they can make digging difficult and weaken the fence. If the ground is uneven, levelling may be needed to create a stable base.
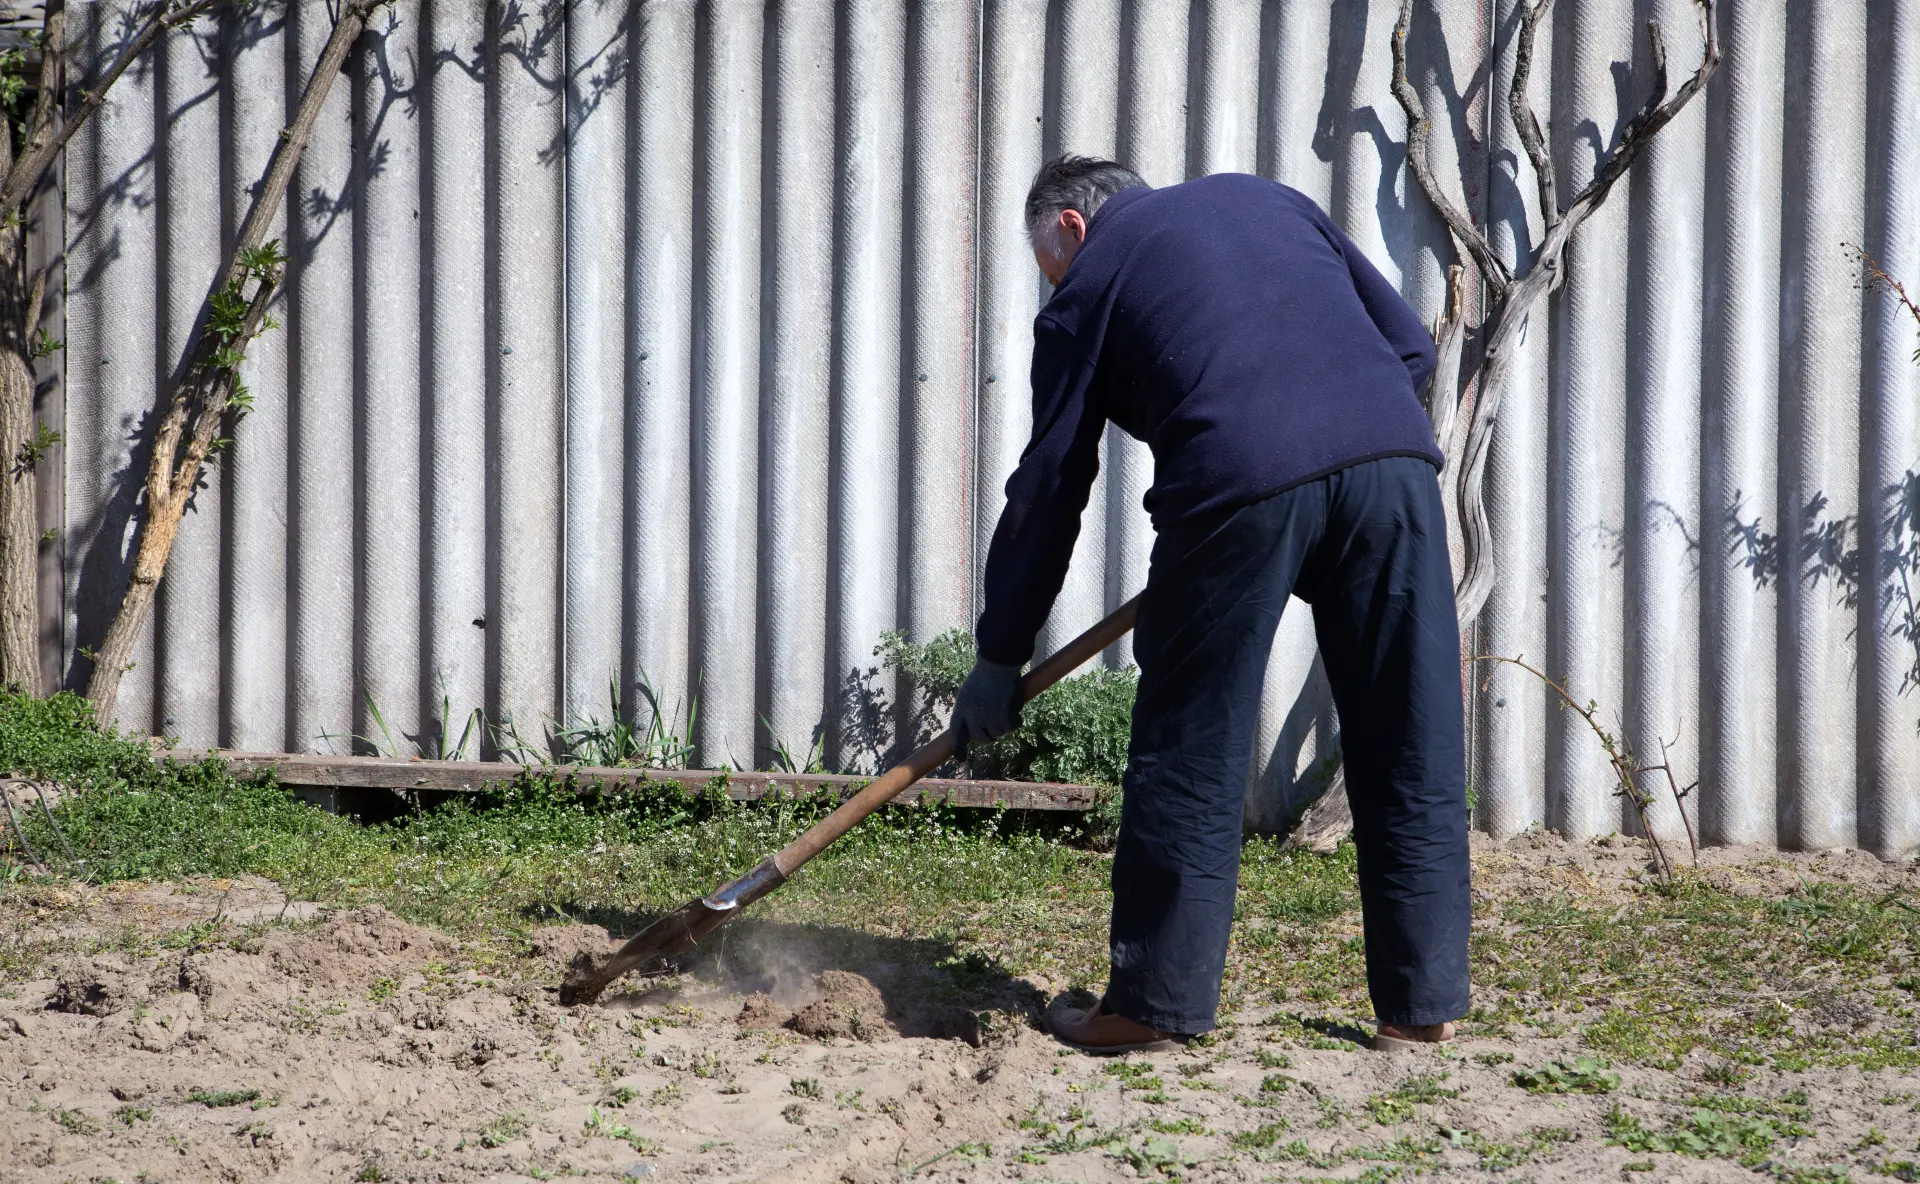
After clearing, the boundary line should be carefully marked out. This is usually done with string, pegs or chalk lines to create a straight and accurate guide for the fence. Marking ensures that the fence will be installed in the right position and helps to keep it aligned throughout the process. Taking extra care at this stage prevents mistakes that could affect the final appearance and strength of the fence. It is also useful to mark the exact locations for the fence posts.
Measuring equal distances between each post and marking them clearly helps to maintain a consistent and professional finish. This step makes it a whole lot easier to dig the holes later and allows the panels to fit neatly between the existing posts. By clearing and marking the area properly, the ground is fully prepared for installation. This careful groundwork saves time, reduces errors and gives it a more solid base for the rest of the project.
Installing Fence Posts
Once the ground is cleared and marked, the following step is to install the fence posts. Posts form the backbone of the fence, so setting them correctly is essential for strength, stability and a neat finish. Start by digging holes at the marked positions. The depth will usually depend on the overall height of the fence, but a general guide is that the hole should be about one-third the length of the post. This helps the post stand firm and resist movement in bad weather. The holes should be wide enough to allow for concrete or gravel around the post for extra support.
When placing each post, use a spirit level to ensure it is straight and upright. Posts that lean or sit unevenly can cause the whole fence to look untidy and may weaken it over time. Using string lines across the tops of the posts also helps to keep them level and in line with each other. To secure the posts, fill the holes with concrete or a mixture of gravel and soil.
Concrete offers the strongest support, especially for taller or heavier fences. Make sure the concrete is thoroughly and tightly packed around your post and slopes slightly away from it to prevent water damage. Allow time for the concrete to set before attaching panels or rails. Properly installed posts provide a strong foundation and ensure that the fence will remain secure, straight and long-lasting.
Fitting the Fence Panels or Boards
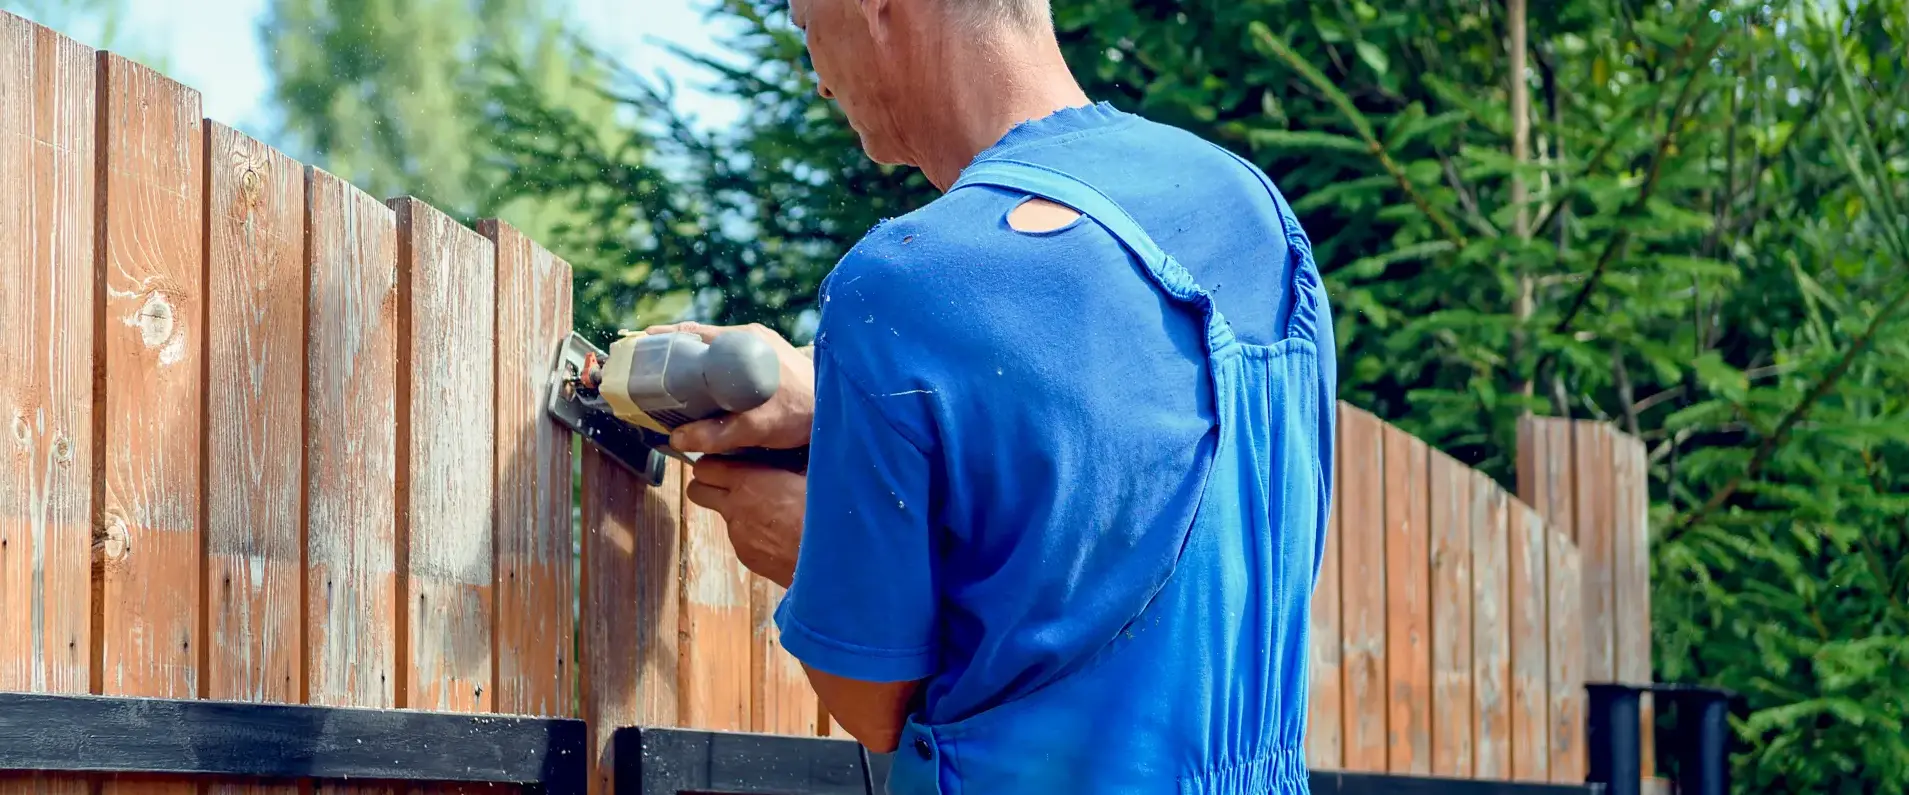
With your posts firmly in place, you must then attach the fence panels or boards. This stage is what helps to shape the look of the fence and give it the privacy or security it was ultimately made for. Begin by lifting each panel or board into position between the posts. Use a spirit level to make sure they sit straight and align with the others. If the ground is uneven, it may be necessary to step the panels gradually to maintain a neat appearance.
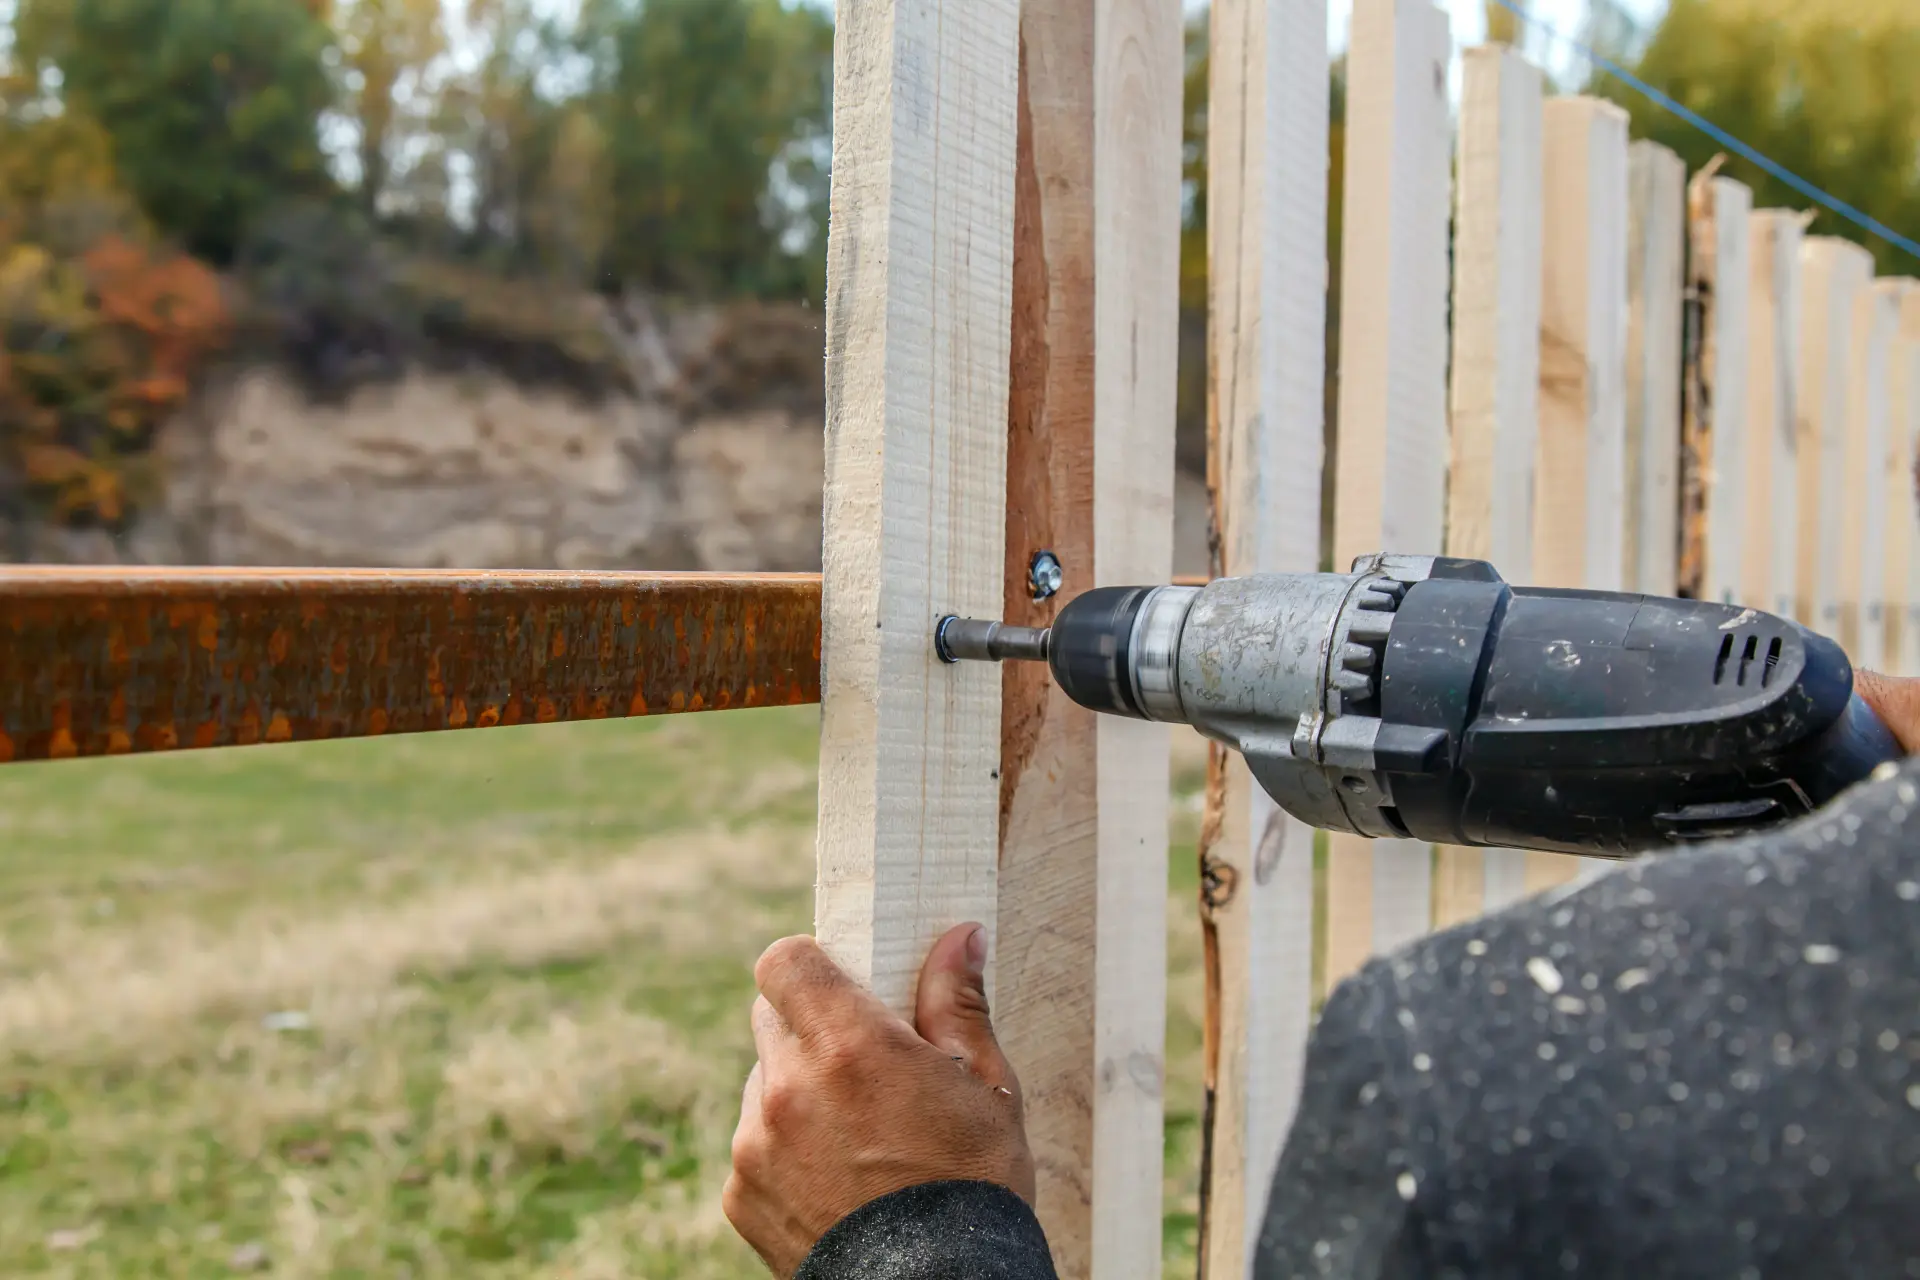
Secure the panels or boards using the correct fittings, such as brackets, nails or screws, depending on the chosen design. Panels should be fixed tightly to prevent movement in strong winds, while boards should be spaced evenly for a balanced and professional finish.
As you work along the boundary, keep checking the height and alignment. Small adjustments at this stage ensure the fence remains straight and uniform. Gates or access points should also be fitted in line with the panels for a consistent look. Once all is fitted, the panels or boards form the main structure of your fence, offering strength, privacy and a smart finish to the property.
Finishing Touches and Safety Checks
Once the panels or boards are in place, the final step is to carry out the finishing touches and do some safety checks. This makes sure the fence not only looks good but is also safe, secure and ready for long-term use.Start by trimming or capping any posts that rise above the panels. Adding post caps or protective covers helps prevent water damage and gives the fence a neat, finished look. At this stage, you may also want to treat the wood with a stain, paint or preservative to protect it from the weather and extend its lifespan.
Next, inspect the entire fence carefully. Check that all panels, boards and fittings are secure, with no loose screws or nails. Ensure that the fence is straight, stable and has no sharp edges or splinters that could cause injury. Gates should be tested to make sure they open and close smoothly, with hinges and locks working correctly.
Finally, clear away any leftover materials, tools and debris from the site. A tidy finish not only improves the appearance but also leaves the area safe for children, pets or anyone using the garden.
Looking for reliable fencing installers in Darwen, Blackburn, Bolton or Preston? Our expert team offers professional fence installation using high-quality timber materials. Whether it's a garden boundary or a large perimeter, we deliver secure, stylish fencing built to last. Contact us today for a free quote.
